Podcast production made easy

Five tips to make your podcast sound better immediately
Wedemark, November 2018 – Podcasting is a topic that’s currently on everyone’s lips, and many people are now using this auditory medium to convey their content quickly and easily to various interest groups. So would you like to be a part of it? Have you already found a subject to talk about and can’t wait to make your first recording? Before you start, you need to consider a few points to make sure that your first recordings are not consigned to the digital dustbin. Audio specialist Sennheiser has developed five easy tips to help you both before and after your recording.
1. Give your voice that warm feeling
We’ve all experienced it – you hear your own voice in a video or a voice message and you think: “Oh no, is that really what I sound like? It’s awful!” First of all: yes, that’s what you sound like and no, it’s not awful at all. You simply hear your own voice differently when you speak. But there is a way of training yourself to lose this shyness about your own voice. Just pick up a recording device, your smartphone for example, and simply talk about what you did over the past few days. You can then listen to the recordings afterwards. You will not only become less insecure about your own voice, you will also recognise the strengths and weaknesses of the way you speak and you can use this knowledge for your podcasts.
2. Make the best of your voice
The second tip follows on directly from the first. There are, of course, some fundamental points that you need to pay attention to when speaking to ensure that your voice sounds as pleasant as possible for the listener. First of all, you should try to speak in an even tempo and not shout. These are also points that you can check very easily by listening to your voice recordings. Use a pop screen on your microphone to prevent loud popping sounds, and be careful that sibilants (‘s’, ‘ch’, ‘sh’, etc.) are not pronounced too harshly as this can be uncomfortable for the listener. Train yourself to speak them more softly and not directly into the microphone.
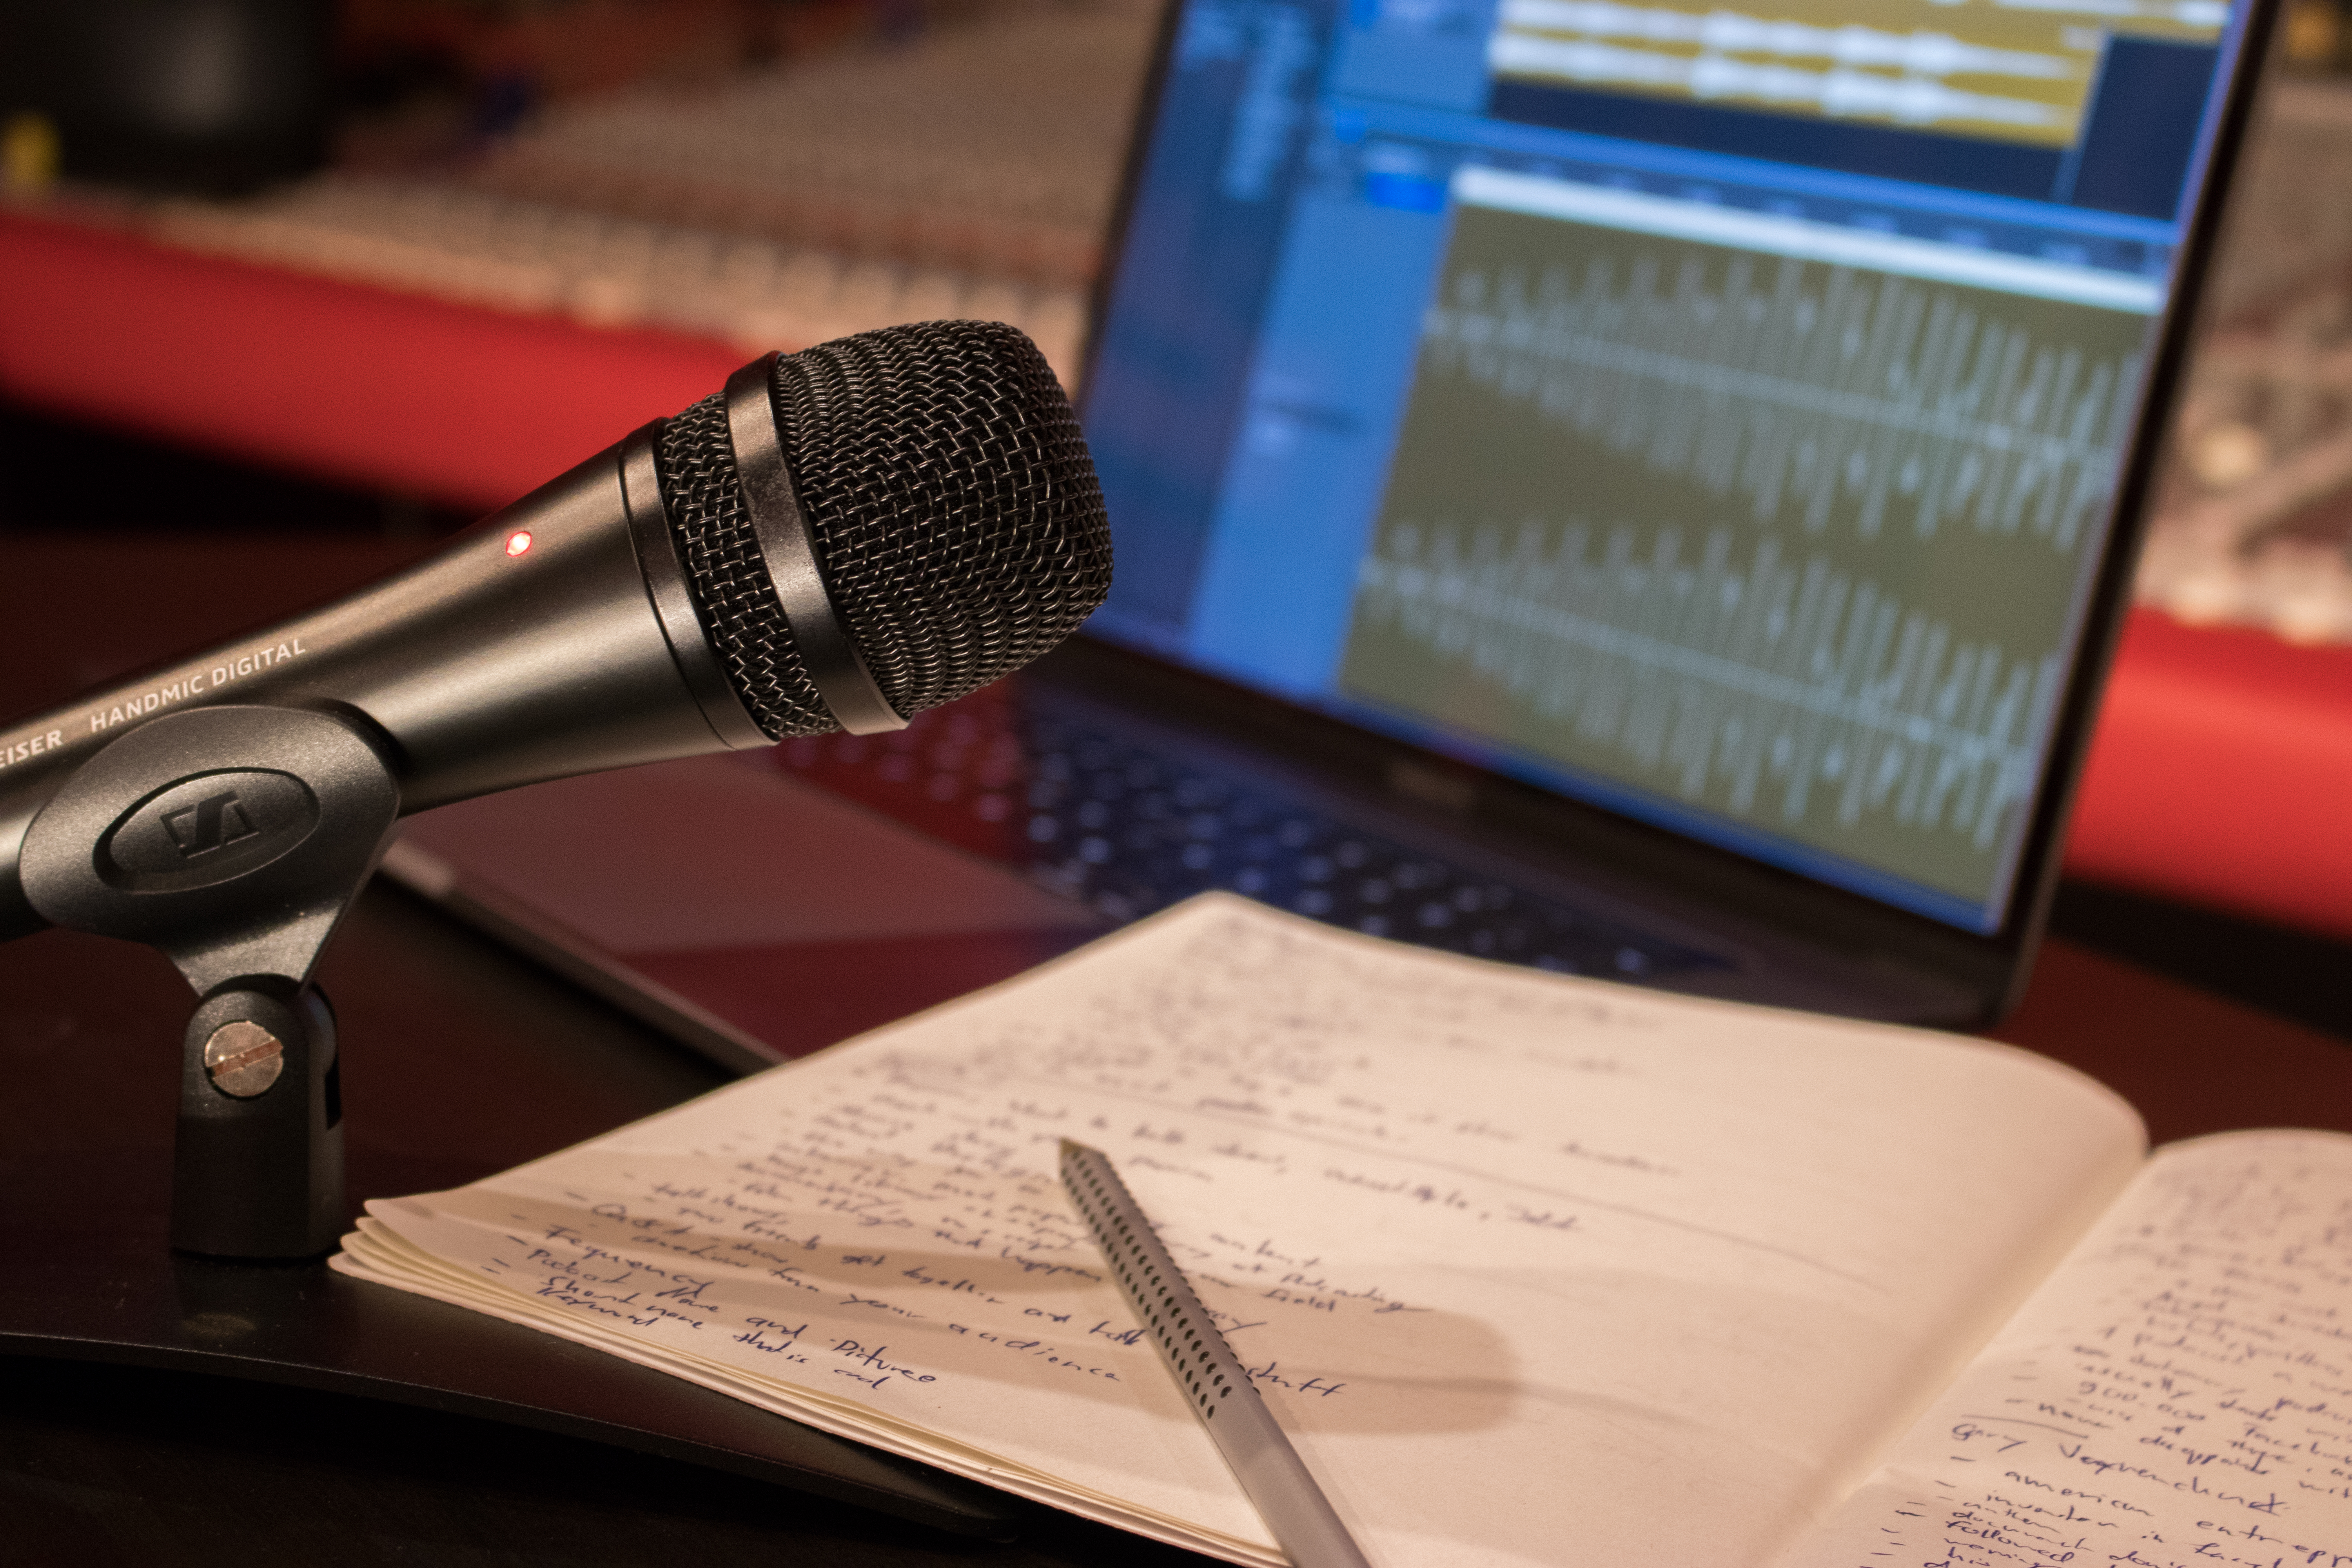
3. Distance from the microphone
And as far as the microphone itself is concerned: Your position in front of the mike is decisive for the sound of your voice. If you are close, your voice will have more bass and will sound fuller (also known as the “proximity effect”), but there is also a risk that pops, sibilants and breathing noise are emphasised. If you are further away, your voice will sound thinner and you will have a lot of ambient sound in your recording. There is no such thing as the perfect distance because each microphone has a different sound – and the sound of a voice is also a matter of taste. Tip: start a recording a hand’s breadth away from the microphone and, while speaking slowly, move further away and then closer again. This will enable you to find the optimum position.
4. A room that sounds good
The room also plays a key role in recording quality. You should try to make the room sound as “dry” as possible, in other words it should have minimum reverberation or ‘echo’. If there is too much reverberation, it will be more difficult to understand you and you will also have problems when it comes to post-processing your voice. As a general principle: empty rooms usually have more reverberation than ones with shelves, sofas and carpets. For that reason, living rooms are usually more suitable for voice recordings (a lot of furniture and carpets), while kitchens or bathrooms are usually less suitable (a lot of smooth surfaces that reflect the sound). Tip: by simply clapping your hands you can test which of your rooms has the least reverberation and absorbs the sound best. This should then be your new podcasting room.
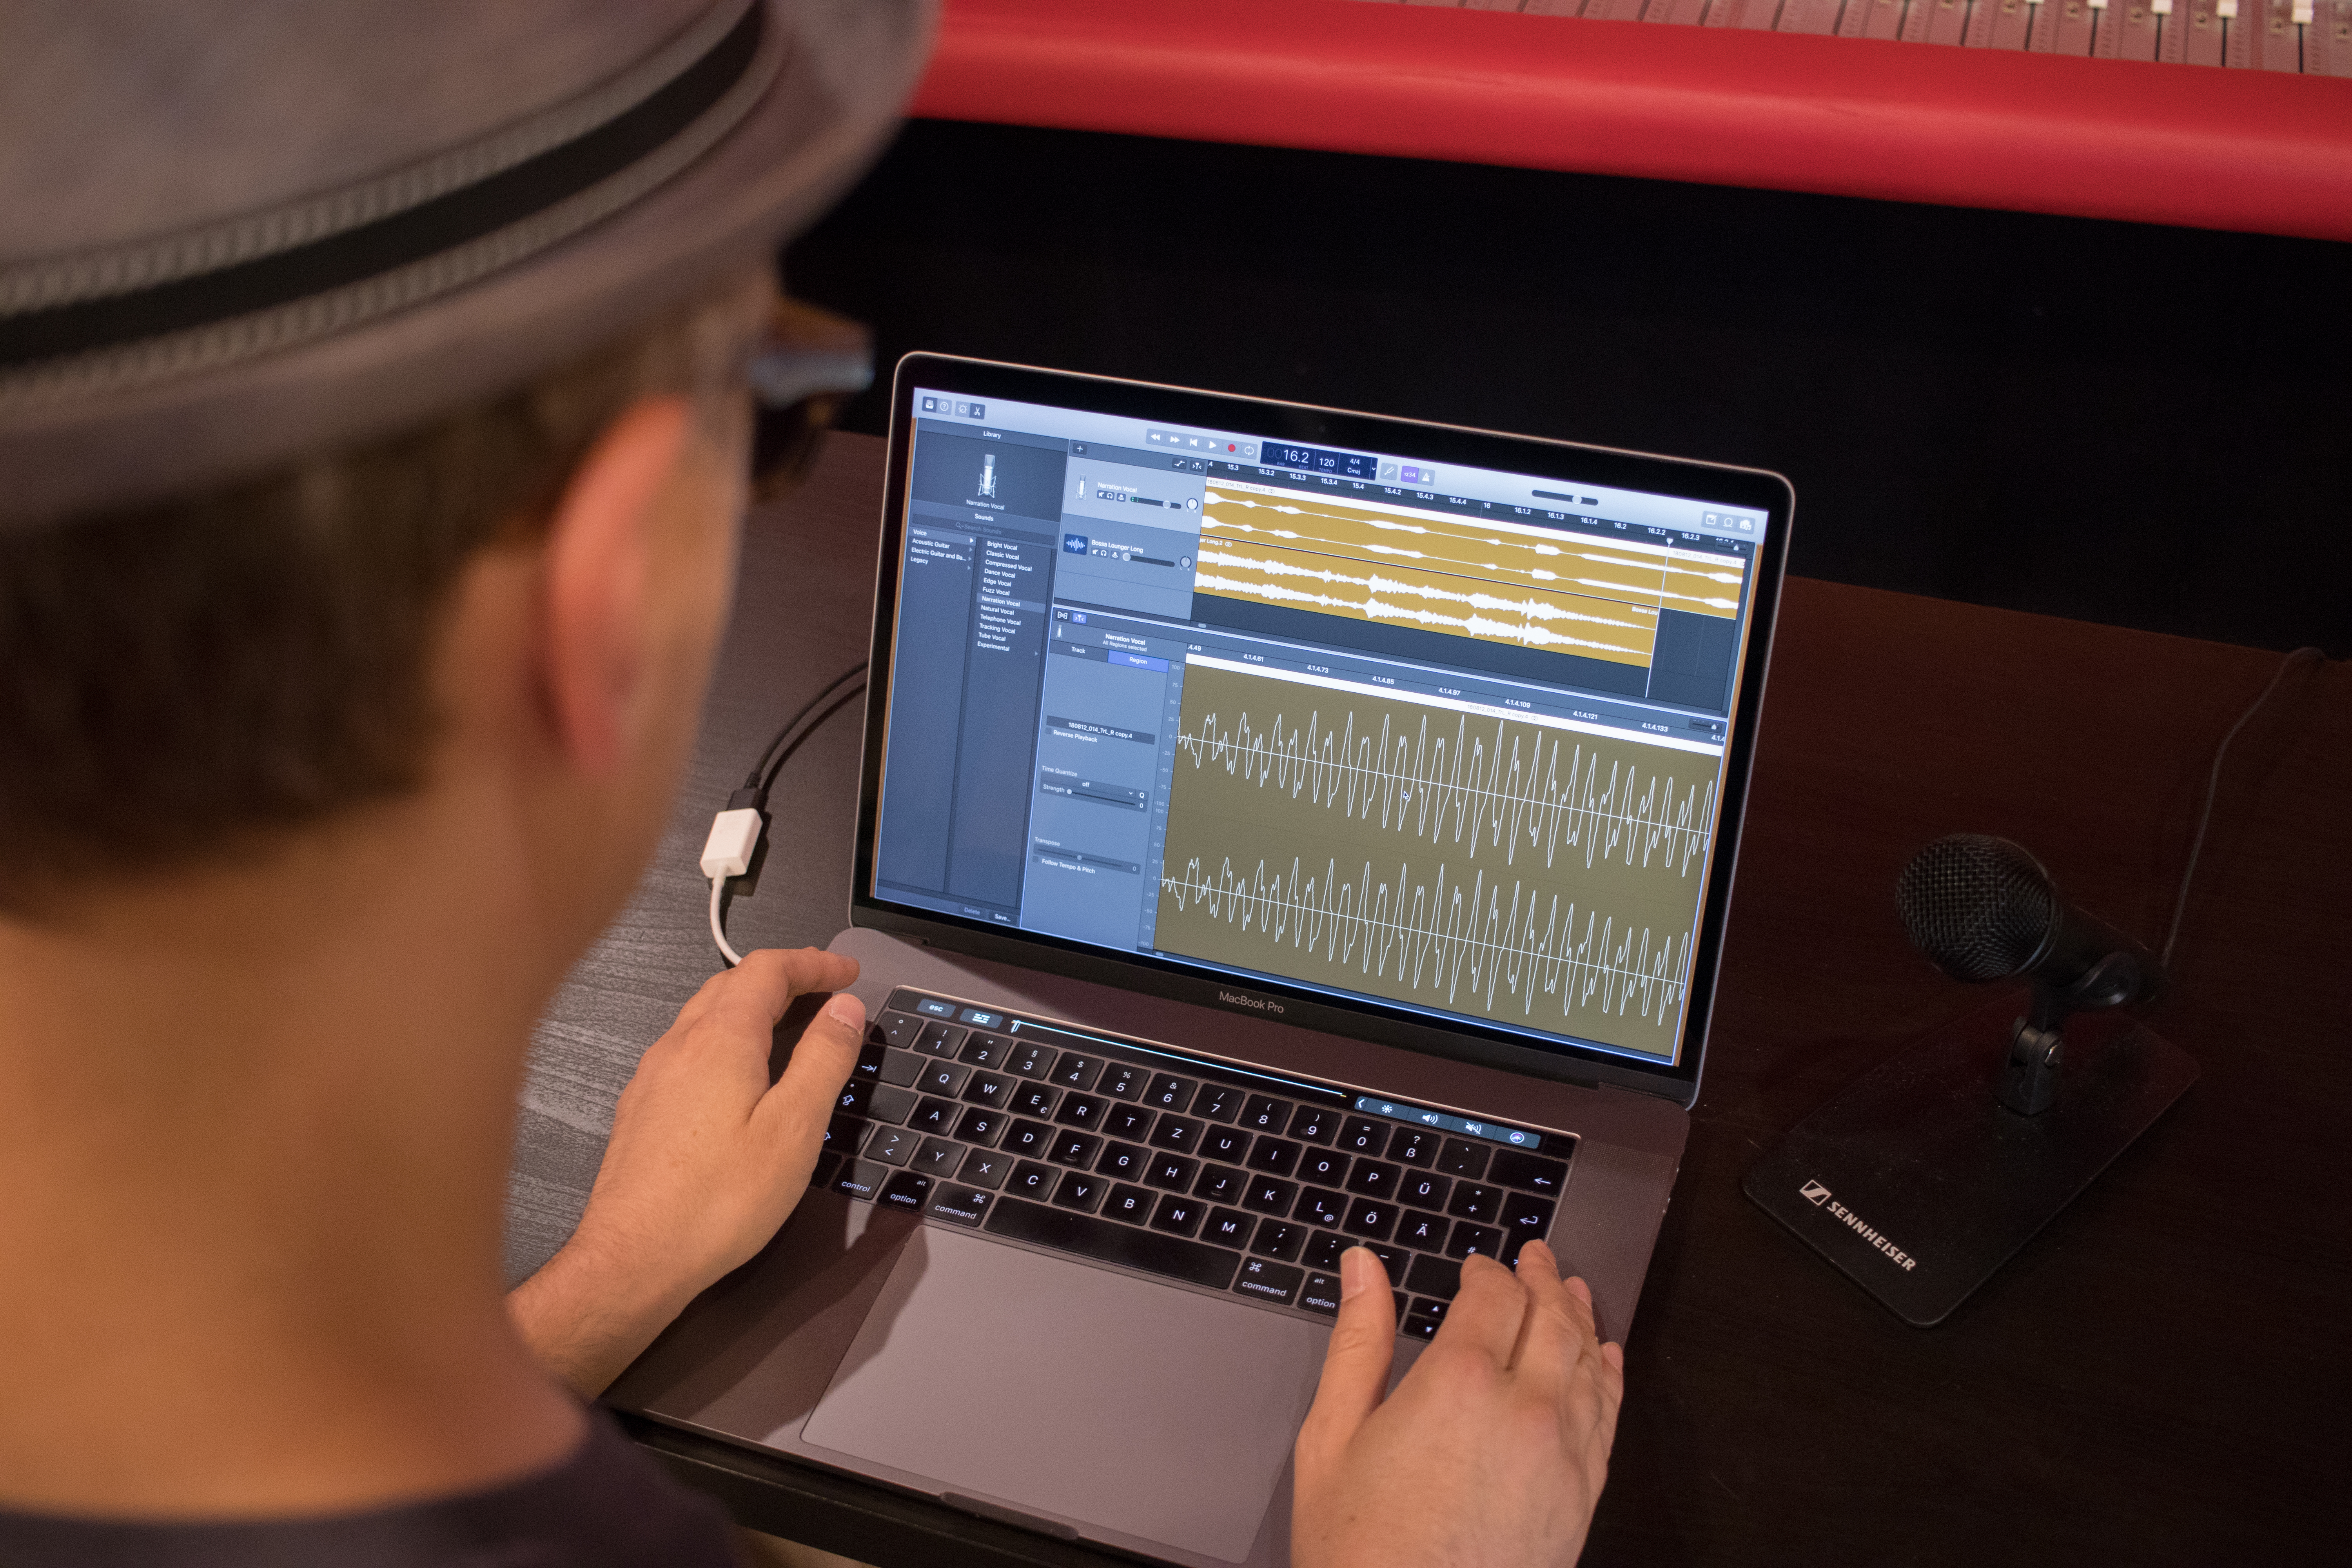
5. Post-processing: equalisers and compressors are your best friends
Maybe you have no idea about audio processing but would nevertheless like to polish up your sound? In that case, your first step should be to take a look at the equalizer and compressor in your Digital Audio Workstation, or DAW. Many DAWs have presets that are meant for voice recordings. Simply load the preset into the track of your audio recording and listen whether the recordings sound better. If there are no presets available, try the following: set a lowcut at 80 Hz in the equalizer and increase the frequency at around 5,000 Hz by 2 to 3 dB. That will remove too low bass frequencies and give your voice a little more brilliance at higher frequencies. In the compressor, select a ratio of 4:1, an attack time of 10 ms and a fast release time of 20 ms. This will have the effect of compressing short transients, while most of the signal remains unaffected due to the short release time. You can lower the threshold until approximately -5 dB of your signal is compressed. Finally, you only need to turn up the gain control until the signal has a good volume again – but take care that the sound level of your track does not exceed 0 dB, otherwise your recording might be distorted. These settings are, of course, only an approximate guideline and they can be further adapted to suit your individual preferences.
Would you like some sound advice on concepts, recording equipment and marketing?
Together with mixing engineer and podcaster Marc Mozart, Sennheiser has developed a YouTube series for podcast beginners. It also provides sound advice on developing your concept and offers microphone recommendations by the audio specialist.
You can find the series and all other information at www.sennheiser.com/how-to-podcast


